

A behind the scenes guide to how one of the action RPG’s key areas came together
I am privileged to write this blog post and I hope you enjoy reading it. Today, I want to show you the process of how we created the art of NieR:Automata.
The above images were captured in-game. If you’ve played through the game already, the amusement park it illustrates may be familiar already!
I tried to capture a very specific time of day in such a setting; we’re at a point when the park’s evening events are just starting to kick off, and the park’s daytime attendees are starting to head home. It adds to the atmosphere of both the location and scene. Personally, I really like this setting!
But how did we end up with this final, evocative shot? Well, the concept artwork I am sharing with you today will showcase how it came to be. (The art looks much more appealing in the actual game. I really do appreciate the work from the background artists!)

To ensure the artwork fitted correctly with the game’s style, I used a screen grab, taken from an early version of the game, to use as reference to capture the correct mood.
Now, please let me show you the process of how the final artwork (which you can see above) was created.
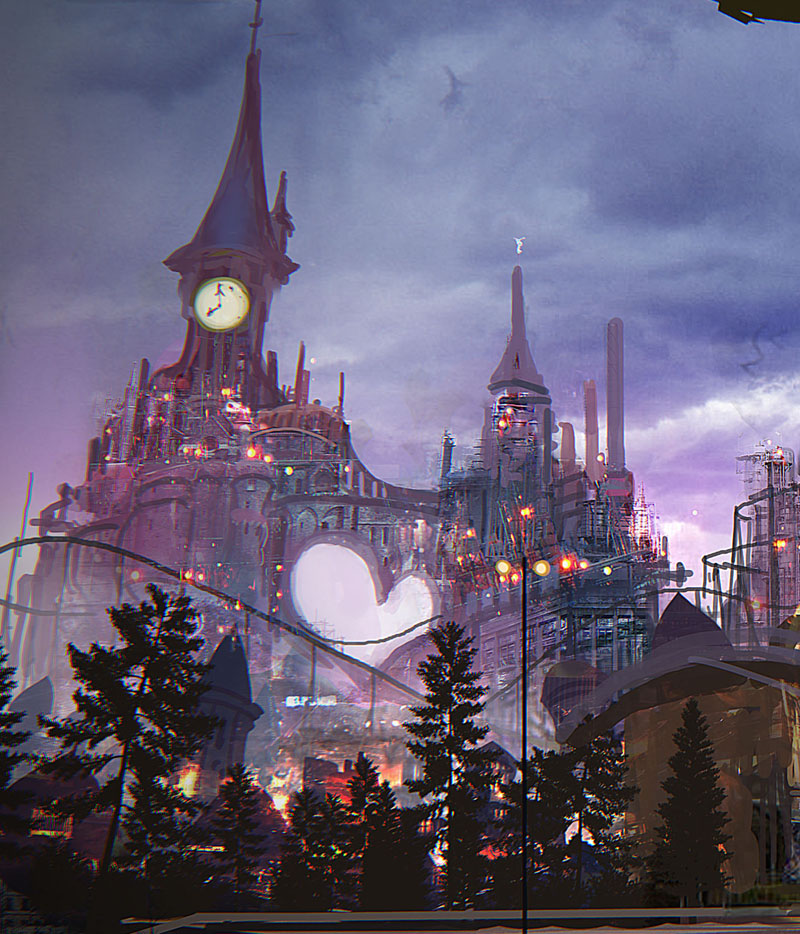
1. An original screenshot taken from the game
This picture is from the early stages of the game development. At this juncture, the focus is on the gameplay, so the quality of art is not the priority.
From the artists’ point of view, this is the most painstaking part of the whole process; we need to imagine what the final form the in-game art will take, and work towards capturing that.
This early concept of mine was actually displayed for the whole studio to see, as it was used as a reference image. I felt embarrassed as it was incomplete! You were a really considerate guy, Taura-san!
2. Deciding composition
For the next step, you start arranging the different elements that’ll make up the final image in the correct order. At this point it’s more a copy and paste job, but the intention is to create a really cool composition. For this setting, we really wanted you to feel the presence of the castle in the background, and give a sense of depth to the amusement park as a whole.
By the way, the galleria-esque facility you can see in the middle? That was based on an idea from a level designer. I think it looks fabulous!
(The actual castle was cropped and pasted from the art which I had drawn previously.)
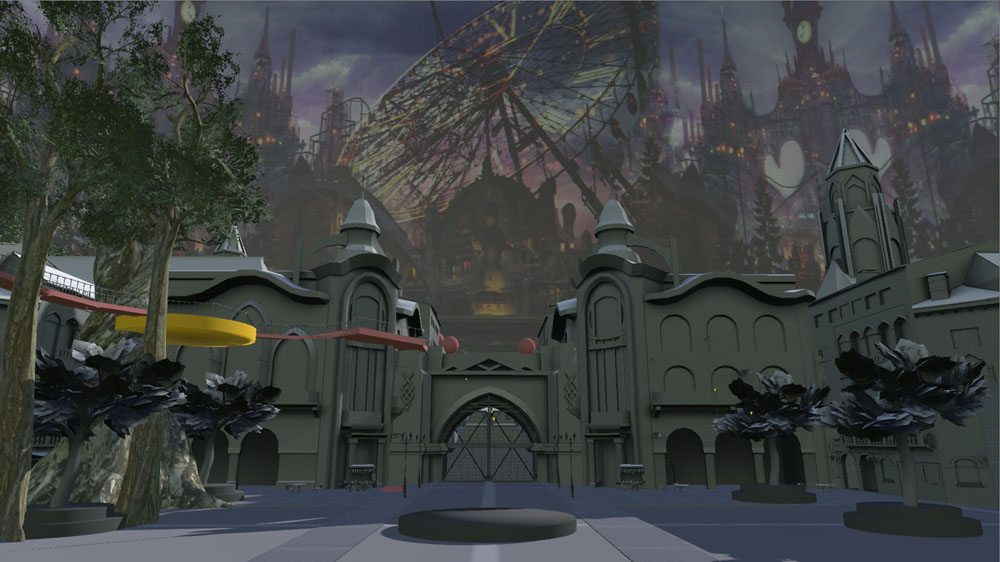
3. Lighting and texturing
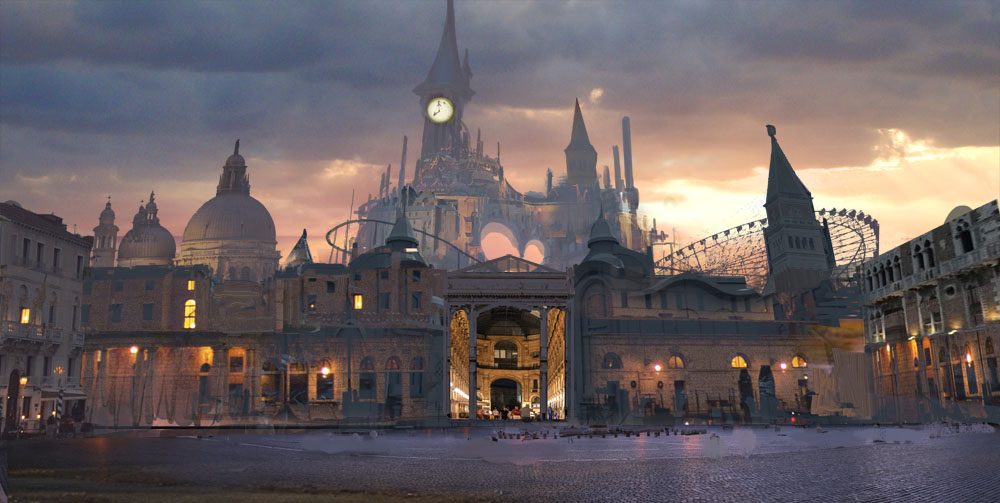
Next up, we added the sky and started working on the commercial area around the entrance.
As long as you have the clear idea in your head, this was a relatively easy part of the work, as the process is mostly repetitive.
4. Check with Yoko-san
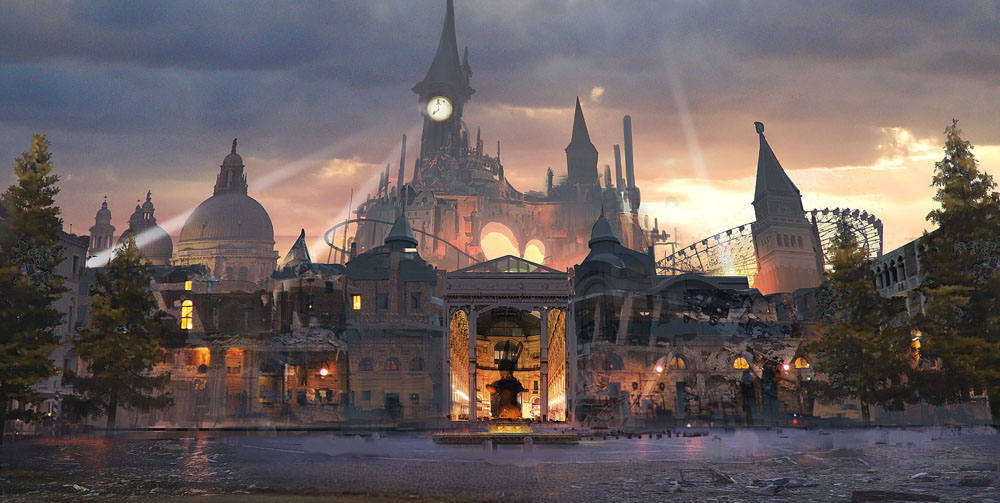
Next, we discuss with the game’s director Yoko Taro, to check whether the direction of the art is okay or he wants to add anything else.
This time, he gave us some feedback such as to remove the reflection on the ground, add more lights and put debris everywhere at the forefront of the shot.
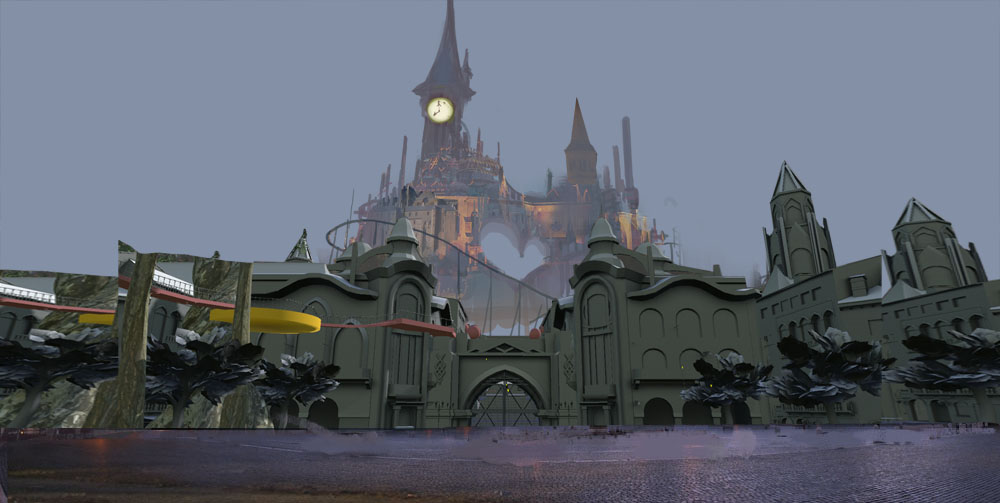
5. Finish

At last, we completed the process, and this is the final version of the artwork. The idea is that while the image initially looks very glamorous – as the best amusement parks are – we start picking up on the smaller details, such as the debris, and you realise the entire setting has an uncomfortable eeriness to it.
When you get to visit this area in-game, it would be great if you think about this art while playing!
I hope you enjoy the article and thank you so much for reading!

Join the Conversation
Add a CommentBut don't be a jerk!
7 Comments
Loading More Comments